|
Sunpass Repair
 |
I know many of you likely have Sunpass transponders in your vehicles.
This applies to the active ones with the display. If you don't have that model,
none of this applies. (click on the images to see them full size.) |
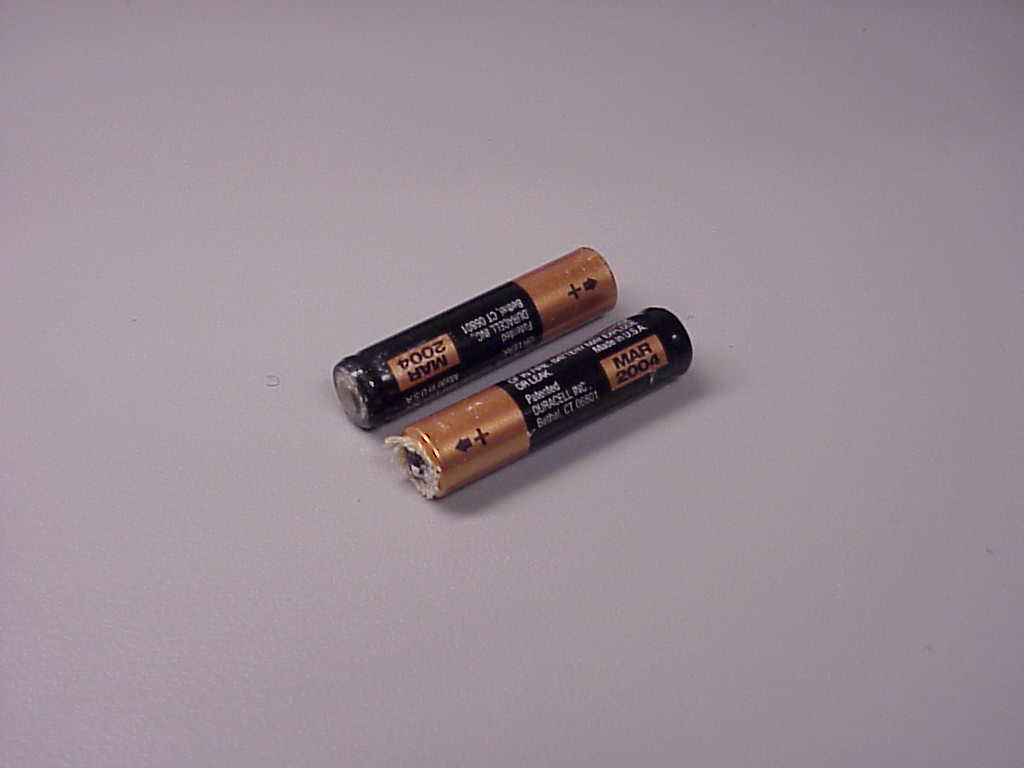
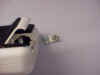
This is what happens if you don't change your batteries. They
leak. Think about the environment they're in. Florida sun and heat
will kill any battery fast.
 |
Duracell used to guarantee that if batteries leaked in a device they would
repair or replace it for free. Not any more. Now they only guarantee not to leak
IF the leak happens before the date code on the battery. While I thought that
date code was a marketing trick to show how long they're last, it was actually a
way to get out of paying off for leaks. The batteries in a SunPass WILL leak.
|
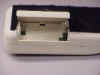 |
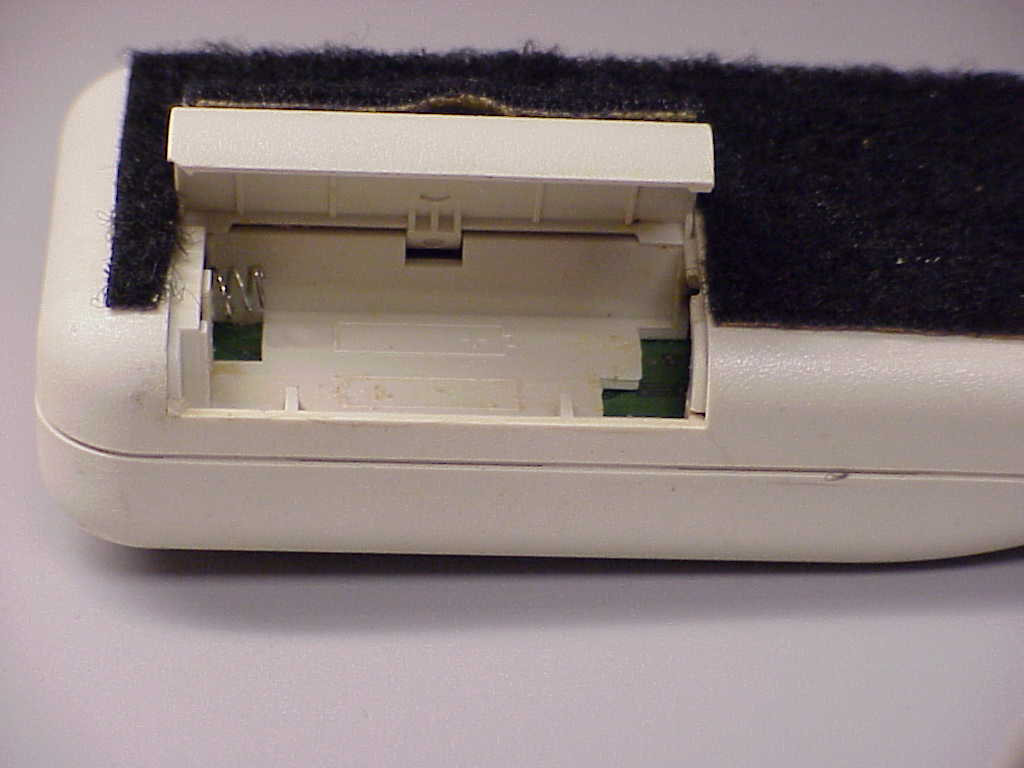
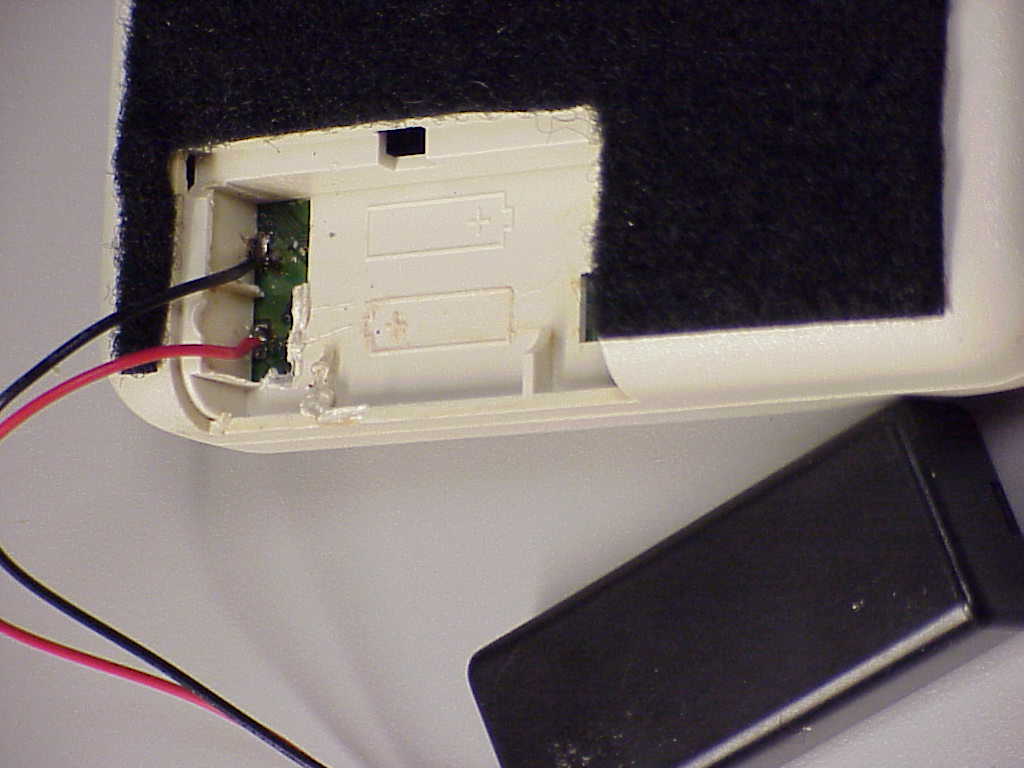
If you catch it right when the leak starts, you might be able to clean the
terminals. I wasn't so lucky. Here's the damage. The batteries are
at the top and the damage goes down. Nice design. The end that connects the two
batteries totally failed. The plastic even broke off.
This case will never hold another battery. |
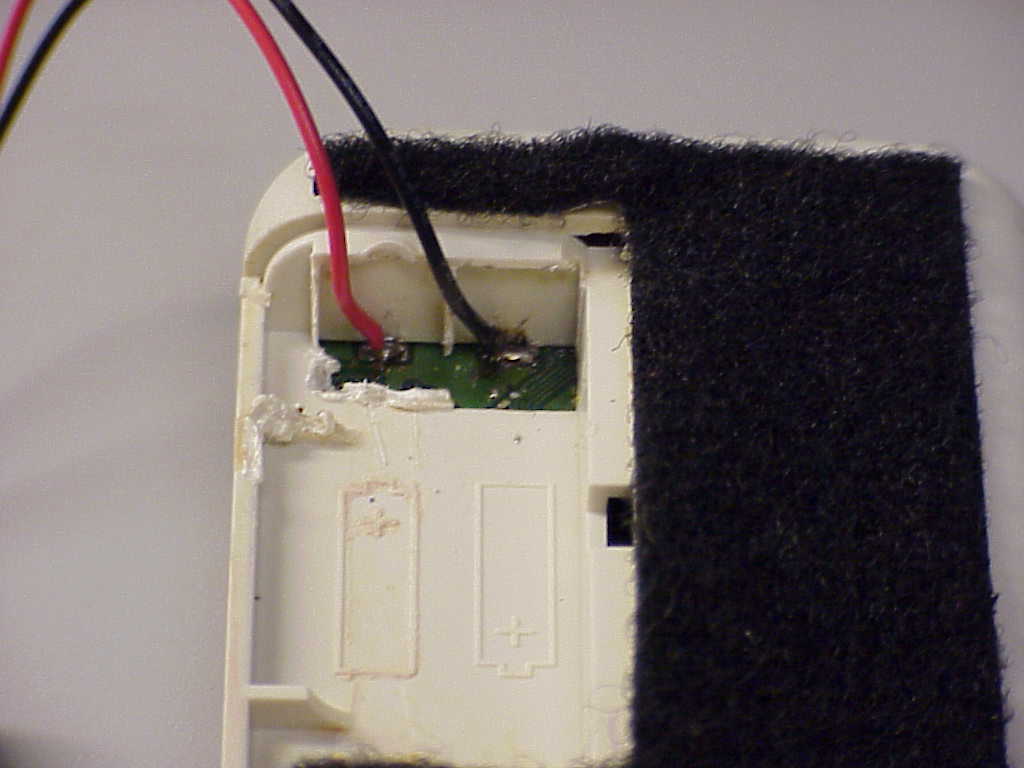
It didn't seem like much had seeped into the case. Once it gets on the PC board, get a new transponder.
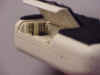
So I decided to give it a new battery pack. Normally you would open the
case to work on the PC board inside. But I was worried that there
would be a booby trap of some sort that would permanently disable the Sunpass
for security reasons. So the rest of the operation was done from the
outside. Or minimally invasive if you prefer.
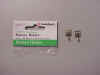 |
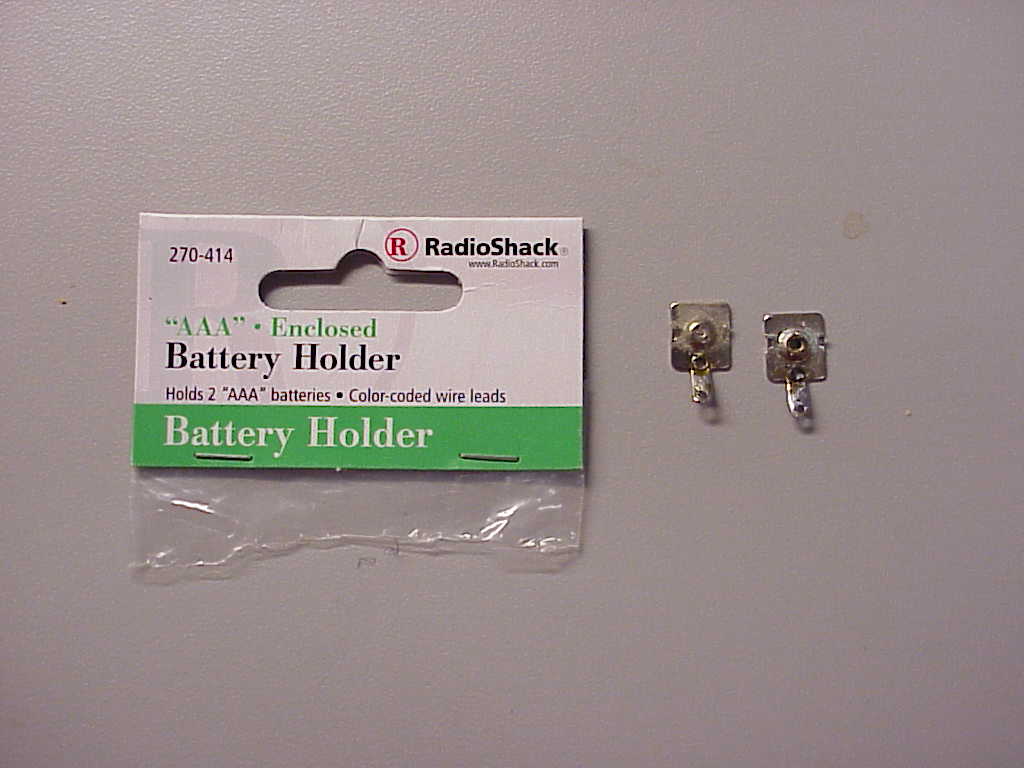
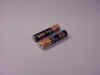
Here are the parts. The battery case is from Radio
Shack, part number 270-414. Could I have gone with the AA to
upgrade? Yes, and they would last longer. But I sort of want
them to run down more often to force me to replace them. The tabs
on the right are the battery contacts that were removed. Note that
they're chromed, so you can't solder directly onto them. |
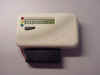
I loaded the batteries and it powered up just fine. It even remembered
my balance. When I put it all together I tywrapped the battery to the
bottom of the case. Again, not pretty, but if it leaks again, it will drip
to the dash, not the inside of the Sunpass. The proof was the drive
through the toll booth. Perfect beep. Now that my AAA's are external, the next repair will be easy and only cost me
$1.59
Do yourself a favor, get a couple brand new AAA batteries, change out the
batteries right now, need it or not. Put a reminder in your calendar to change
them again before they expire.
01/14/2008
|